This Getting Started Guide is an introduction to using Lodge Vault Desktop to run your business. The first step is to enter general information about your property, followed by configuring your Units, Revenue Accounts, POS Items, and Unit Rates.
The first setup item is to fill out property options by going to the Tools menu > Options. This dialog has several tabs with critical information that is used in other places throughout the program.

On this dialog on the general tab fill out your property name, address, phone number, and email for your property. Email settings are located on the Email tab and are necessary for sending email correspondence to your guests. Other important considerations are configuring the weekends for you property, deposit preferences, and default settings on the Reservations tab.
Type in the name of each sales tax on the Charges tab. Once this is complete they will be available throughout the program on reports and revenue accounts. Click here for more detailed instructions on configuring your sales taxes.
The next step is to enter settings in the Configuration Section. These include the following important settings:
Units are any rentable entity at your property that you would like to track or add charges based on a time period. Examples of units include boats, bicycles, ice fishing shelters, skis, guides, horses, and camper lots. To add units go to Configuration Section and click on Units on the left toolbar. Click Add, Delete, Edit buttons to manage units.
The next item you will configure will be Revenue Accounts. These are important for grouping your finances and for tax reporting. To add an account, click the Revenue Accounts button on the toolbar on the left side of the Configuration section. Click the Add button on the right toolbar. Typically you will want to start off by adding a general Lodging revenue account first. You can also add revenue accounts for Food/Dining, Bar, Tax Exempt, and Miscellaneous.
Next you have the option of adding Unit Rates. These are charges applied when a unit is booked. They are typically associated with the Lodging revenue account. Each unit rate can be applied to any number of units. You can set the price per time period, per person, or by weekend/weekday. You will also need to select an applicable revenue account for each unit rate.
POS (Point of Sale) Items are miscellaneous charges that can be added to an invoice. Examples include simple items such as food and beverages, or lodging and rental charges.
The program has a Main Grid which has rows that can be double clicked to perform an action. You can also right click to open a detailed dialog for editing.
Each dialog has a consistent layout with a toolbar near the top with a Save and Cancel button. If you make changes and decide you want to exit without saving, click the Cancel button and a message will appear confirming your cancel. Your changes will not be saved after you confirm.
There are several ways to search for an item. There is a toolbar at the top of the Main Grid which allows you to conduct a search by the selected criteria. You can also perform a Quick Search to find an item. Click here for detailed instructions on performing searches.
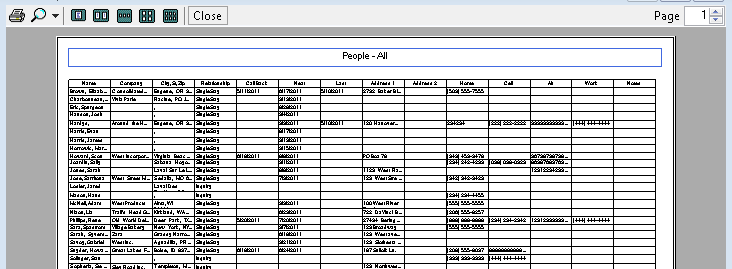
At any point when the main grid is visible you can print the list. To do this go to File menu > Print Preview. The graphic below is an example of the print preview window when printing from the People Section.